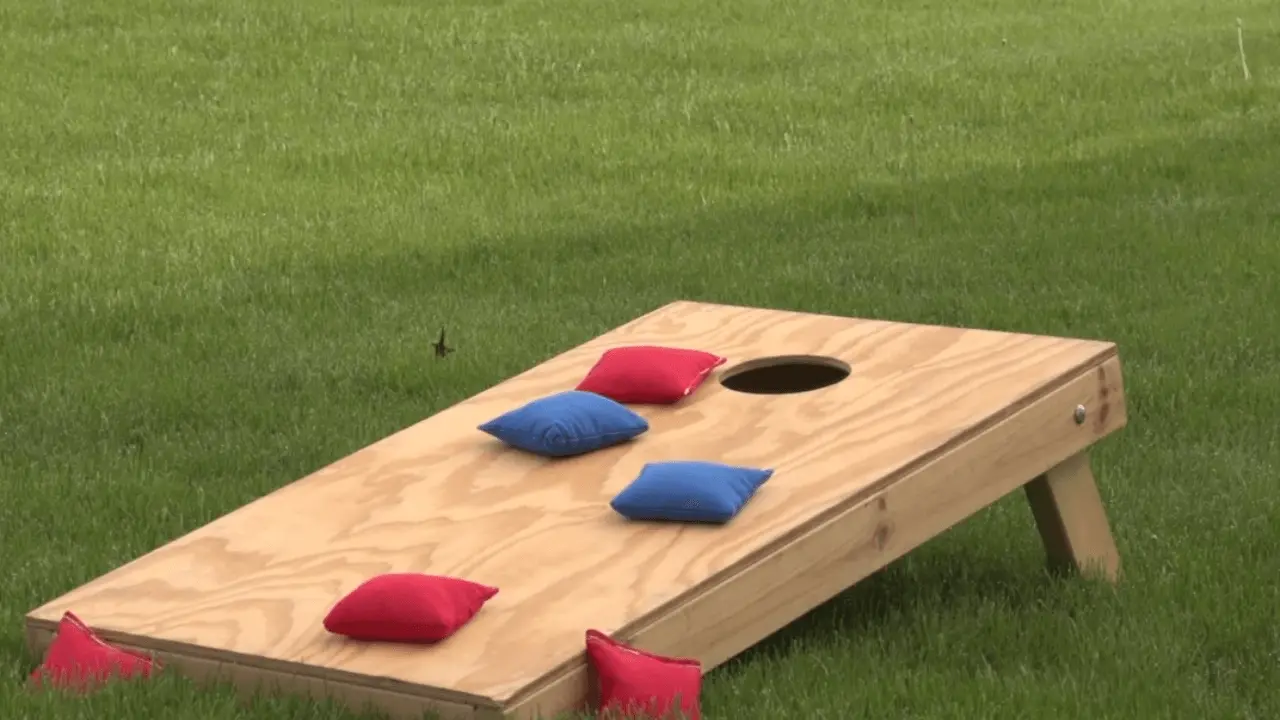
How to Make & Design Your Own Custom Cornhole Boards
If you want to create your custom cornhole boards with your hands, you get to learn a lot and enjoy the process of making it. You can prepare your board according to your preferences, including painting your desired design on the board. Furthermore, it is cost-effective, and you can create a good and sturdy cornhole board according to your needs.
By building custom cornhole boards yourself, you can easily gift them to your friends and relatives as well. By following the steps provided below, you can create beautiful cornhole boards for yourself and your family and friends.
Collect The Materials To Make The Custom Cornhole Boards
First of all, gather all the materials you need to avoid any inconvenience while making the board later on.
- 2 piece of plywood (2 feet by 4 feet each)
- 4 wooden board for the frame (2 feet in length)
- Secrews 8
- Wood Glue
- SAW
- Drill
- Sandpaper
- Primer and Paint
- Stencil or designing for customization
- Clear Coat (optional for added protection|)
Cut The Plywood
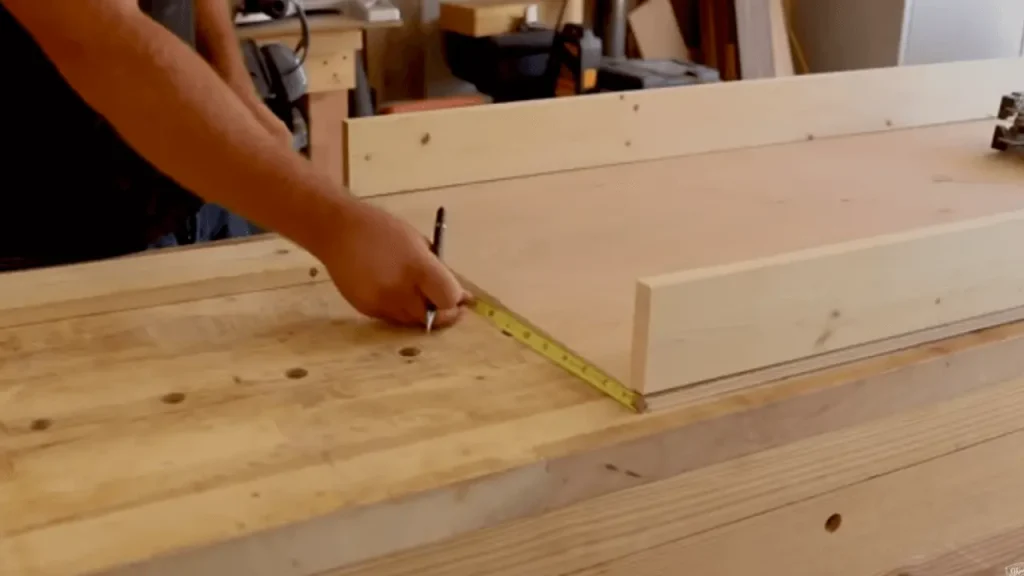
While using a saw, cut the plywood in such a way that each piece measures 2 feet by 4 feet. Pay close attention to the measurements during the cutting process to ensure accuracy, as these dimensions will be the playing surface of your cornhole boards.
Build The Frame
Take a wooden board and cut it into 4 pieces, each measuring 2 feet in length. Adjust the cut boards on the frame in such a way that the sides with the same length are parallel to each other. Next, apply glue to all the joints where the frame is placed and secure them firmly by using screws.
Attached The Plywood
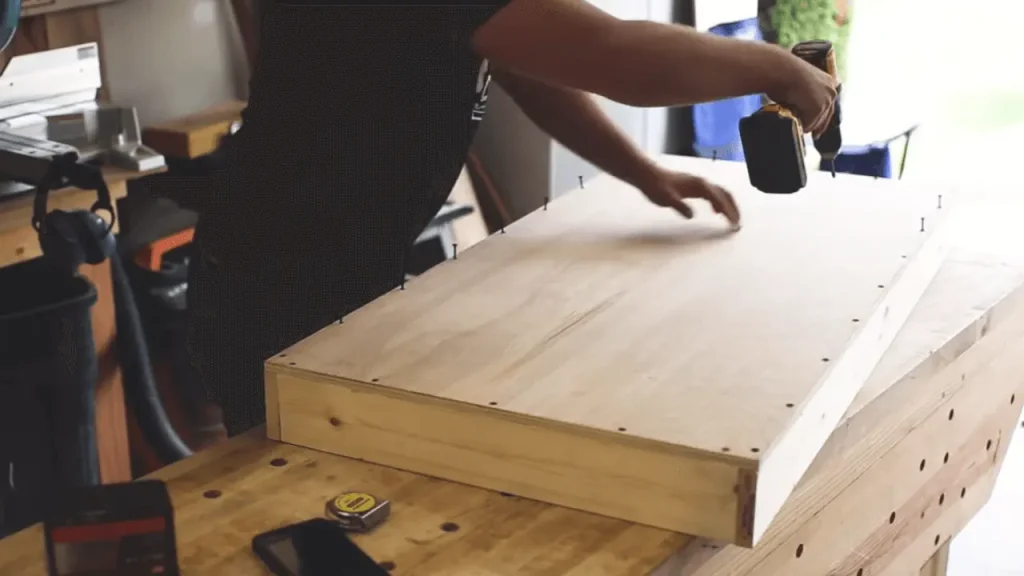
Place the cut plywood on top of the prepared frame, ensuring that it is aligned evenly on all sides. Apply glue underneath the plywood and secure it tightly by using screws, ensuring a strong connection. Repeat the same process for the second piece of plywood, attaching it to the opposite side of the frame in the same method.
Sand and Smooth
To align the raised edges of the cornhole board and achieve a smooth surface, we use sandpaper. Rub the sandpaper on the raised edges to level them and create a smooth playing surface. Additionally, sand the top surface of the board thoroughly to ensure it is clean and smooth. Now, the board is ready for painting.
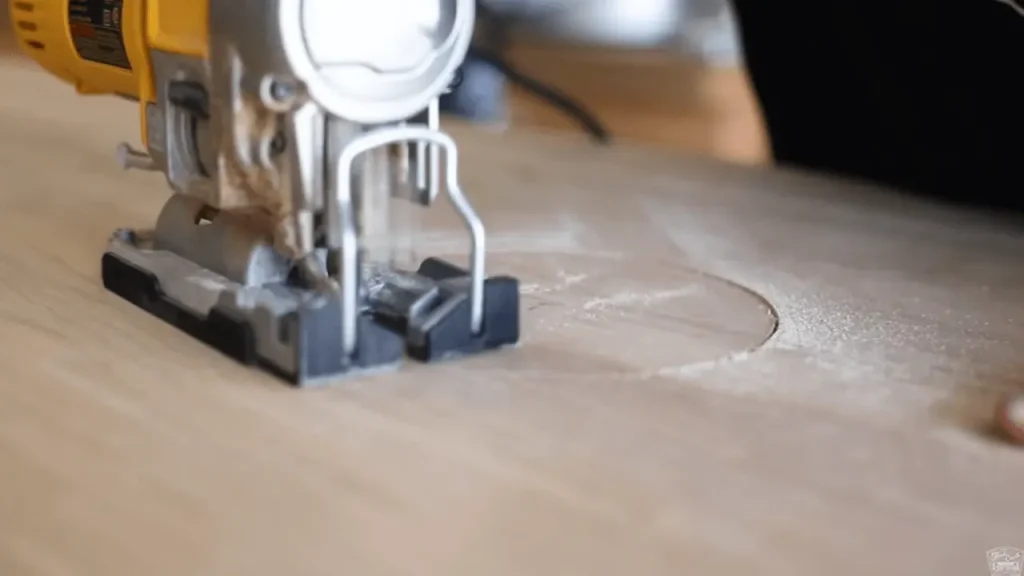
Primer and Paint
Now, before painting the cornhole board, it is recommended to apply a coat of primer. The purpose of using a primer is to ensure that the paint adheres properly to the board. Once the primer is dry, you can paint the board with your desired color.
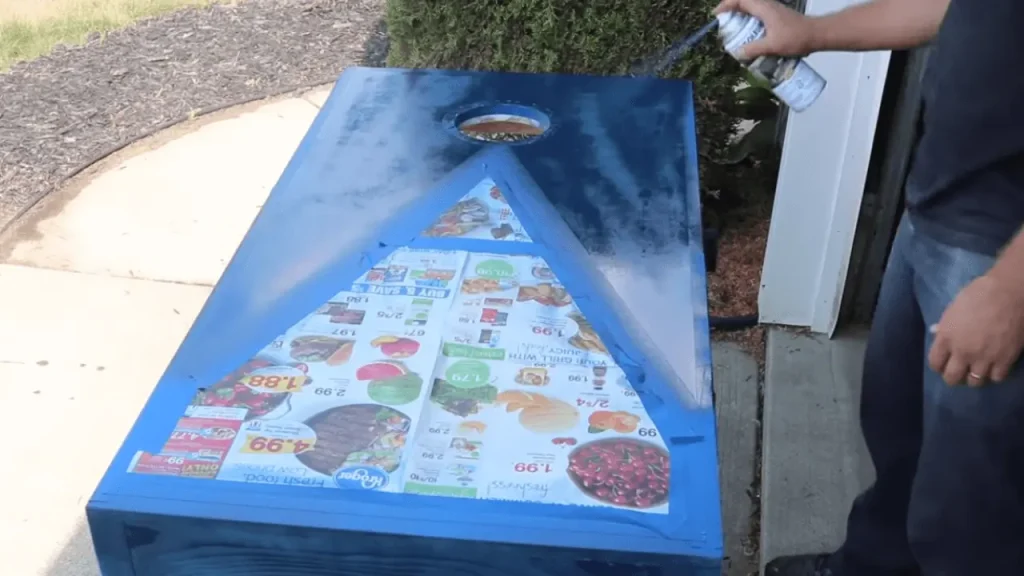
Furthermore, after painting, you can add designs on top of the board to make your custom cornhole board look different and unique from others.
Apply The Clear Coat (optional)
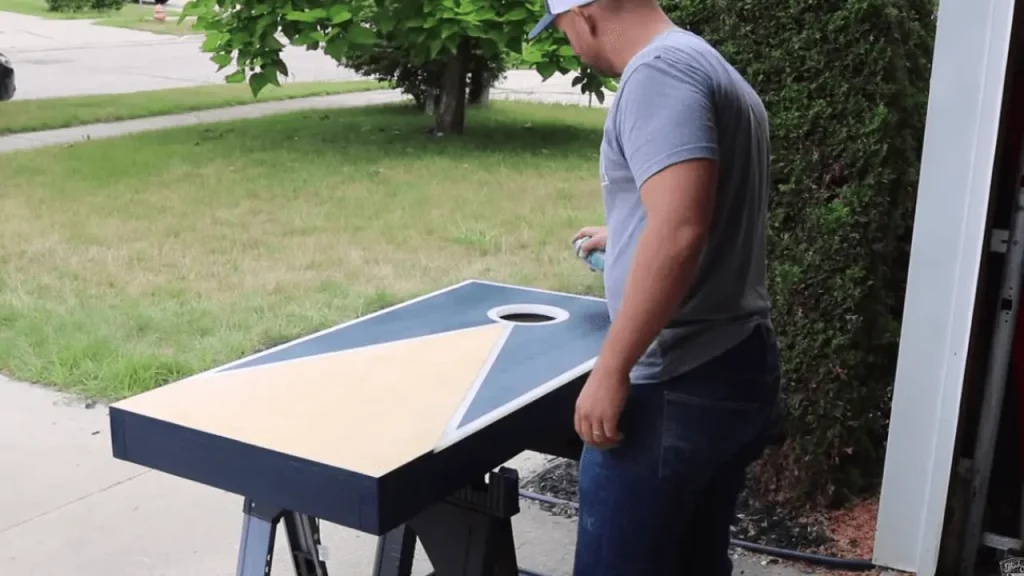
Your custom cornhole board is now completely ready. After this, the following step is optional, but if you wish to make your board more beautiful and shiny, you can apply a clear coat after the paintings and other art on the board have dried. The benefit of applying a clear coat is that it not only adds shine to the board but also provides protection against rain and other weather conditions.
Now, your custom cornhole board is completely ready. Next, in the market, you can find a variety of cornhole bags to choose from. After purchasing the right bags, you can play this game alone or invite your friends and family to join you for more enjoyment. You can easily set up the cornhole game outside your home in a park or any outdoor area.
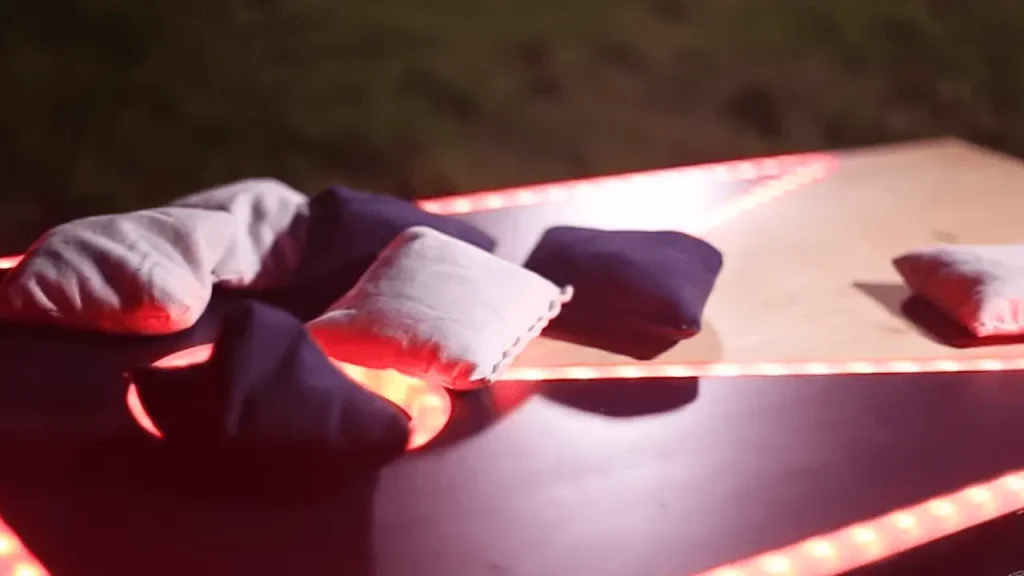
For more information on the official cornhole distance rules, you can click on the following link, which will provide you with all the necessary information about the rules of the game, enabling you to play it more effectively.
